Get Started
Quick install
Note
This requires Docker and Python 3.10+. See the installation guide for detailed setup instructions.
$ pip install tesseract-core
Hello Tesseract
The tesseract CLI builds Tesseracts as Docker containers from tesseract_api.py files. Here, we’ll build and invoke a simple Tesseract that greets you by name.
Build your first Tesseract
Download the Tesseract examples and run the following command from where you unpacked the archive:
$ tesseract build examples/helloworld
 [i] Building image ...
 [i] Built image sha256:95e0b89e9634, ['helloworld:latest']
Tip
Having trouble? Check common issues for solutions.
Your first Tesseract is now available as a Docker image on your system.
Run your Tesseract
You can interact with any built Tesseract via the CLI, the REST API, or the Python SDK:
$ tesseract run helloworld apply '{"inputs": {"name": "Osborne"}}'
{"greeting":"Hello Osborne!"}
$ tesseract serve -p 8080 helloworld
 [i] Waiting for Tesseract containers to start ...
 [i] Container ID: 2587deea2a2efb6198913f757772560d9c64cf8621a6d1a54aa3333a7b4bcf62
 [i] Name: tesseract-uum375qt6dj5-sha256-9by9ahsnsza2-1
 [i] Entrypoint: ['tesseract-runtime', 'serve']
 [i] View Tesseract: http://127.0.0.1:56489/docs
 [i] Docker Compose Project ID, use it with 'tesseract teardown' command: tesseract-u7um375qt6dj5
{"project_id": "tesseract-u7um375qt6dj5", "containers": [{"name": "tesseract-uum375qt6dj5-sha256-9by9ahsnsza2-1", "port": "8080"}]}%

$ # The port at which your Tesseract will be served is random if `--port` is not specified;
$ # specify the one you received from `tesseract serve` output in the next command.
$ curl -d '{"inputs": {"name": "Osborne"}}' \
       -H "Content-Type: application/json" \
       http://127.0.0.1:8080/apply
{"greeting":"Hello Osborne!"}

$ tesseract teardown tesseract-u7um375qt6dj5
 [i] Tesseracts are shutdown for Project name: tesseract-u7um375qt6dj5
>>> from tesseract_core import Tesseract
>>>
>>> with Tesseract.from_image("helloworld") as helloworld:
>>>     helloworld.apply({"name": "Osborne"})
{'greeting': 'Hello Osborne!'}
Tip
For faster iteration during development, you can run Tesseracts without building containers. See Debugging and Development for details.
Each Tesseract auto-generates CLI and REST API docs. To view them:
$ tesseract run helloworld --help
$ tesseract apidoc helloworld
 [i] Waiting for Tesseract containers to start ...
 [i] Serving OpenAPI docs for Tesseract helloworld at http://127.0.0.1:59569/docs
 [i]   Press Ctrl+C to stop
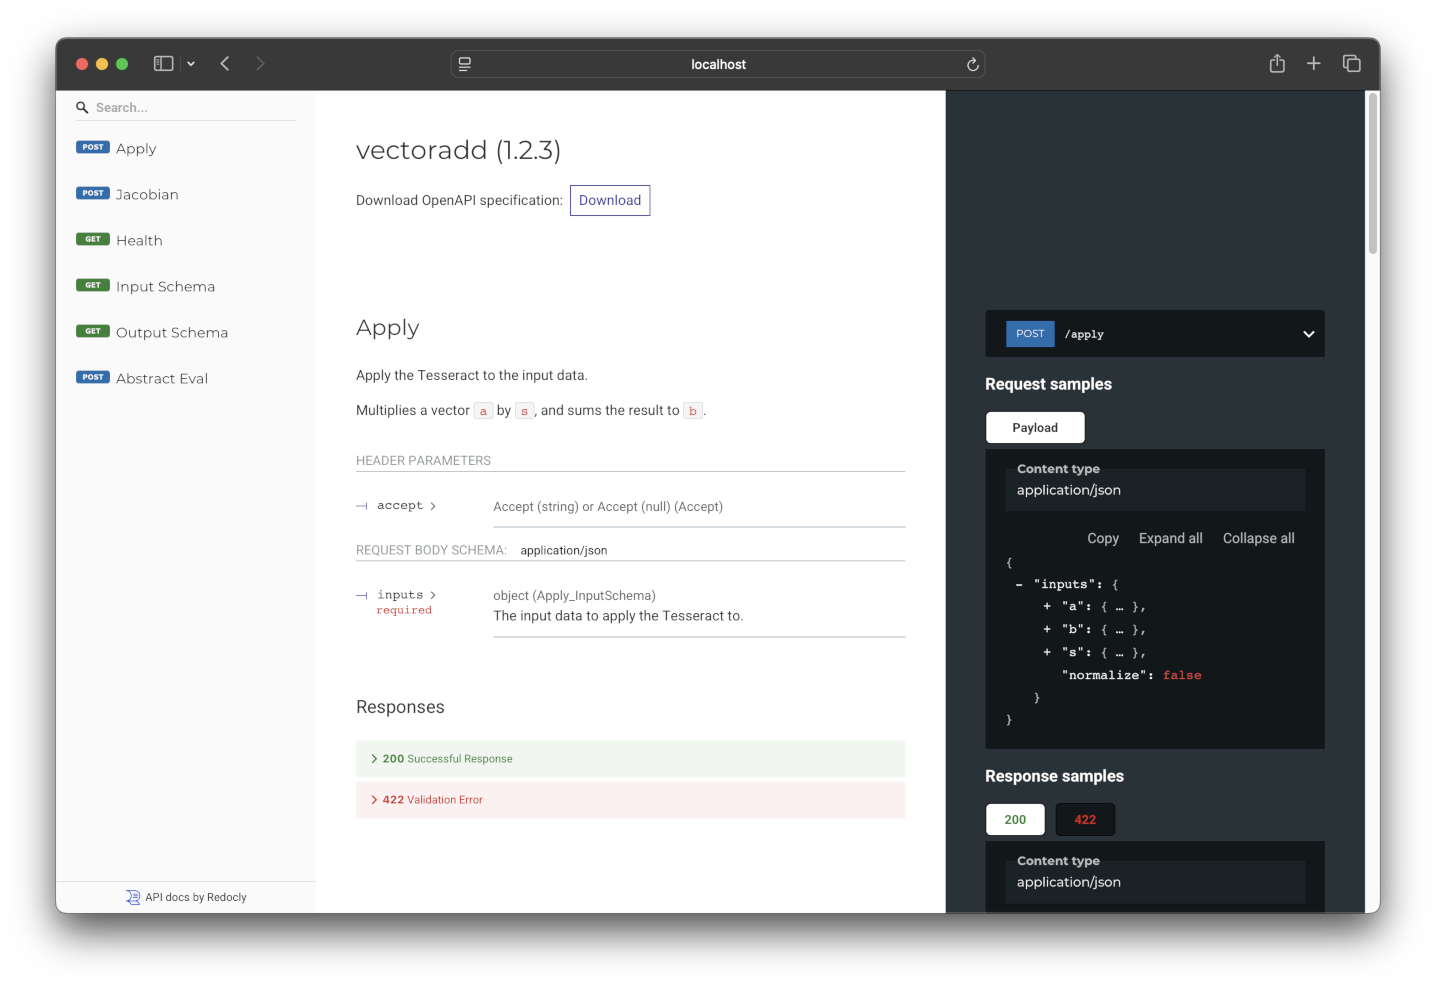
The OpenAPI docs for the helloworld Tesseract, documenting its endpoints and valid inputs / outputs.
Under the hood
The folder passed to tesseract build contains three files:
$ tree examples/helloworld
examples/helloworld
├── tesseract_api.py
├── tesseract_config.yaml
└── tesseract_requirements.txt
These are all that’s needed to define a Tesseract.
tesseract_api.py
This file defines the Tesseract’s input and output schemas, along with the endpoint functions: apply, abstract_eval, jacobian, jacobian_vector_product, and vector_jacobian_product (see endpoints). Only apply is required.
class InputSchema(BaseModel):
    name: str = Field(description="Name of the person you want to greet.")
class OutputSchema(BaseModel):
    greeting: str = Field(description="A greeting!")
def apply(inputs: InputSchema) -> OutputSchema:
    """Greet a person whose name is given as input."""
    return OutputSchema(greeting=f"Hello {inputs.name}!")
Tip
For a Tesseract that has all optional endpoints implemented, check out the Univariate example.
tesseract_config.yaml
Contains metadata such as the Tesseract’s name, description, version, and build configuration.
name: "helloworld"
version: "1.0.0"
description: "A sample Python app"

build_config:
  # Base image to use for the container, must be Ubuntu or Debian-based
  # base_image: "debian:bookworm-slim"

  # Platform to build the container for. In general, images can only be executed
  # on the platform they were built for.
  # target_platform: "native"

  # Additional packages to install in the container (via apt-get)
  # extra_packages:
  #  - package_name

  # Data to copy into the container, relative to the project root
  # package_data:
  #  - [path/to/source, path/to/destination]

  # Additional Dockerfile commands to run during the build process
  # custom_build_steps:
  #  - |
  #   RUN echo "Hello, World!"
tesseract_requirements.txt
Lists the Python packages needed to build and run the Tesseract, in pip requirements file format.
Note
This file is optional. tesseract_api.py can invoke functions written in any language. In that case, use the build_config section in tesseract_config.yaml to provide data files and install dependencies.
# Add Python requirements like this:
# numpy==1.18.1
Features and limitations
Self-documenting — Tesseracts announce their interfaces, so users can inspect them without reading source code and perform static validation without running the code.
Auto-validating — Input data is automatically validated against the schema, so internal logic can assume the data is in the expected format.
Autodiff-native — Tesseracts support differentiable programming and integrate as native operations in PyTorch and JAX — but exposing derivatives is strictly optional.
Batteries included — Every Tesseract ships with a containerized runtime, a CLI, a REST API, and a Python SDK.
Python as glue — Tesseracts may use any software under the hood, but they always use Python as glue between the runtime and the wrapped functionality. Support for Python projects is more mature than other languages.
Single entrypoint — Each Tesseract has a single
applyentrypoint. To expose N functions, create N Tesseracts.Context-free — Tesseracts are not aware of outer-loop orchestration or runtime details.
Runtime overhead — Tesseracts are designed for compute kernels that run at least several seconds, so they may not suit very low-latency workloads.
Next steps
Depending on your needs:
Creating Tesseracts — define schemas, implement endpoints, and build Tesseracts
Interacting with Tesseracts — invoke Tesseracts and work with their outputs
Or jump into end-to-end tutorials: